Since 2011, Sharefaith has offered a premier church website solution, utilizing the freedom of WordPress with our own proprietary editor built into the site. Now Sharefaith is taking a major new step in incorporating the world’s leading WordPress builder, Elementor to provide a wealth of new possibilities for Sharefaith church website users.
To help users learn more about this exciting new editor, I’m buckling up and taking Elementor for a drive for my very first time. And since I’m jumping in for the first time, just like many of you reading this will be, I decided to document some tips and tricks I’ve learned along the way. Something important to know about Elementor is that it is primarily a visual website builder, which, for me, is like having dessert. I enjoy being able to put ideas and emotions into a way of connecting with others online. Elementor has been able to provide that for me, and I’m so grateful.
Since building a website and a half, I have picked up some tricks to help me move even more quickly in using the web builder’s tools.
First, let’s talk about where to find your content and how to get into the Elementor Editor.
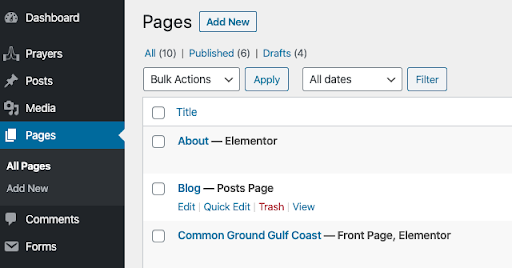
When using your new template, there are a couple of key areas you’ll notice and visit often. In the WordPress Dashboard, you can always find your main pages in the Pages section. This section includes status indicators that will help you know what stage of development your page is in. Here, you’ll typically see the following labels next to your page title:
- Draft
- Elementor
- Posts page
- Front Page
 From here, you can select which page you want to work on and whether you’d like to add a brand new page. To find the Elementor editor, you’ll need to edit your page and click on the “Edit in Elementor” button at the top. From here, you’ll have access to the full Elementor Editor. Now that you’re in Elementor, you have all kinds of excellent tools. I’m not going to dive into all of them. That’s what Elementor’s Support is for; however, I am glad to share some tips and tricks I’ve learned in building a new website.
My top 3 starter tips:
-
How & Why to use Dark Mode!
I love using dark mode. This helps me to see what I need to see much more quickly, and keeps my eyes from getting tired. When in the Elementor Editor, you will notice a three-line (a.k.a. Hamburger) Menu at the top left, near the Elementor name. When you click there, you will find all kinds of settings options. This menu will be available to you, the same way, no matter what page you’re editing.

Once you click into that menu, you will find these options:
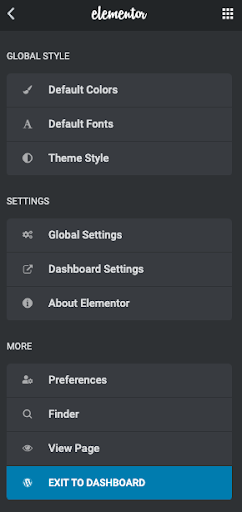
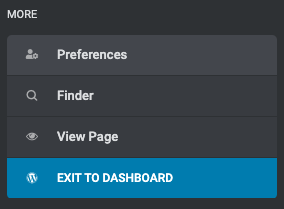
This is a valuable menu. From here, you can choose the MORE > Preferences menu.
This is what you’ll see in preferences.
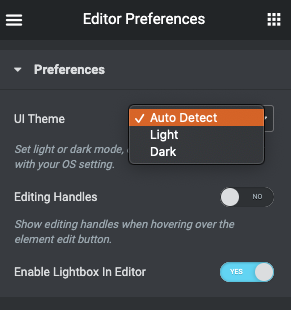
You can change this whenever you want, if you want to go back into light mode.
-
Think of WordPress Dashboard as Command Central
Get back to the WordPress Dashboard for your pages and keep it available. In the same menu we’ve just looked at, you may notice the “Exit to Dashboard” button at the very bottom of the MORE menu. I like to press the CTRL+click (when on Windows) or Command+Click (on Mac) on this button to open the WordPress Dashboard in a separate tab. After that, I like to “pin” the tab in my Chrome browser. (Right-click over the tab to do this). This keeps the page locked in and helps me notice the difference between the current page I’m working on and the primary reference pages I need to stay on task.

-
Use the Navigator
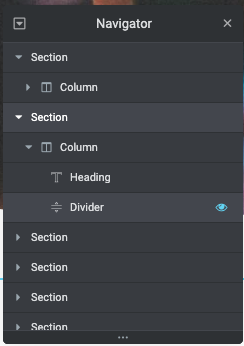
When editing in Elementor, pages can become lengthy, sections can overlap (when increasing and reducing the margins). This can cause issues when trying to click into the section you want to edit. To do this easily, all you need is the navigator. You will find this in the bottom sticky menu of the control panel. It looks like this.

When you click on it, you will see this Navigator panel appear to the right of the screen. It can be dragged anywhere you want it on the page for comfort. It will help you quickly click and jump to the section you want within the page. You can expand the sections to view what’s inside each one as well. This provides a lot of control when editing. You can see or hide the section (by clicking on the blue eye), and you can click+hold to drag and move your sections on the page. These are some very handy dandy tools when working on your pages. This thing has been a major time saver.
I will stop with those first three tips on this first post (yes, there’s more to come!). The more you use Elementor, the easier it will become. They have some fantastic resources to get you started, building out, and enhancing your content. One of the most exceptional features of Elementor is how much you can do. With all of the frequent changes happening in our world, this affords you the freedom to quickly and easily publish updates to your church website for your church family.
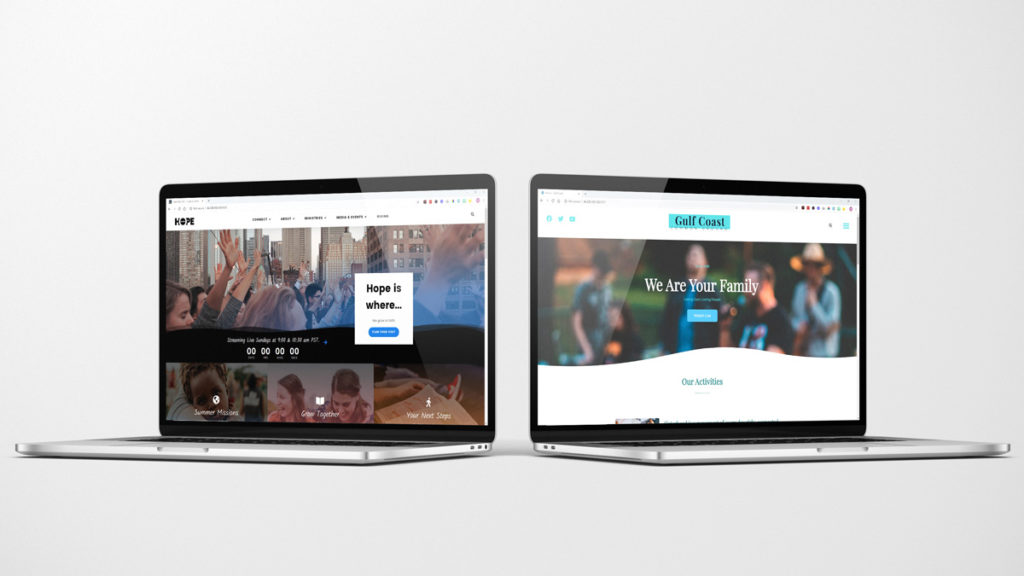
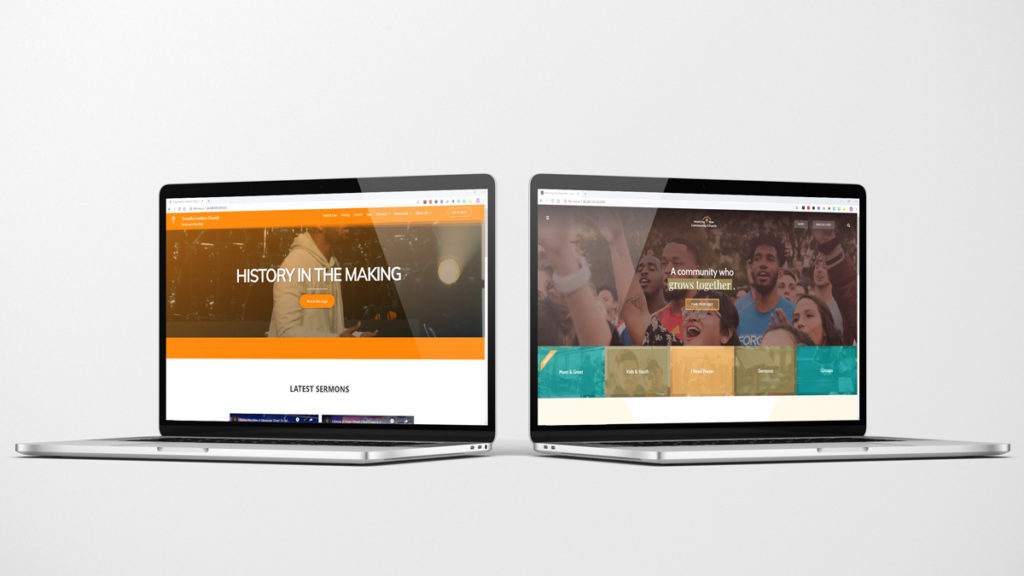
4 New Church Website Themes for Elementor
Aside from simple changes, our team has custom built some new themes to coincide with the launch of Elementor on Sharefaith church websites. We’ve got 2 new themes ready to go in time to roll Elementor out, but we’ll have 2 more released very soon! And of course, you’ll still be able to use any of the existing themes and designs from Sharefaith, too. If you already have a Sharefaith church website, you’re free to continue using the existing editor if you want or make the jump to Elementor at your own pace.
I hope you enjoy learning to use Elementor as I have and that these few tips and tricks can assist in getting you moving along more quickly and with confidence.
Happy building!
Next Steps
Sharefaith church websites offer the power and easy customization of WordPress with Elementor, along with robust ministry features that include sermon hosting with Sermon Cloud, flexible forms that integrate directly with your favorite online giving and church management softwares, prayer requests, direct access to Sharefaith’s media library of 90,000+ worship and sermon graphics, and much more! Try a free demo to experience Sharefaith church websites and get started today.


